
Craft sticks, also called popsicle sticks, are great for building, sorting, weaving, and pushing through slots. These activities use them to work on fine motor control, eye-hand coordination, and proximal stability, the steady base the hands work from.
Shop craft sticks on AmazonAs an Amazon Associate, OTPlan earns from qualifying purchases.


 Added Jan 25 · Ages 3 to 5Foam Slit Curtain PushPincer ControlProprioceptionProximal StabilityYou'll need: Cardboard · Craft Sticks · Foam Sheets · Masking Tape · Scissors
 Added Jan 25 · Ages 3+Resistant Yarn Unwind ChallengeBilateral Hand UseFinger StrengthProximal StabilityYou'll need: Container · Craft Sticks · Glue · Playdough · Sequins · Yarn
 Added Jan 23 · Ages 1 to 5Sticky Stick PullBilateral Hand UseFinger StrengthPincer GraspYou'll need: Cardboard · Construction Paper · Craft Sticks · Masking Tape
 Added Jan 22 · Ages 3+Foam Fortress Pull-ApartBilateral Hand UseMotor PlanningProprioceptionYou'll need: Container · Craft Sticks · Foam Sheets · Markers · Scissors
 Added Jan 22 · Ages 3 to 5Felt Tunnel PushEye-Hand CoordinationProprioceptionProximal StabilityYou'll need: Bowl · Cardboard · Craft Sticks · Felt · Glue · Paper Roll · Pom-poms · Scissors
 Added Jan 21 · Ages 3+Putty Piston PushPincer GraspProprioceptionProximal StabilityYou'll need: Beads · Container · Craft Sticks · Theraputty
 Added Jan 19 · Ages 1 to 5Precision Tube DropEye-Hand CoordinationPincer GraspProximal StabilityYou'll need: Construction Paper · Craft Sticks · Foam Sheets · Masking Tape · Plastic Container · Scissors
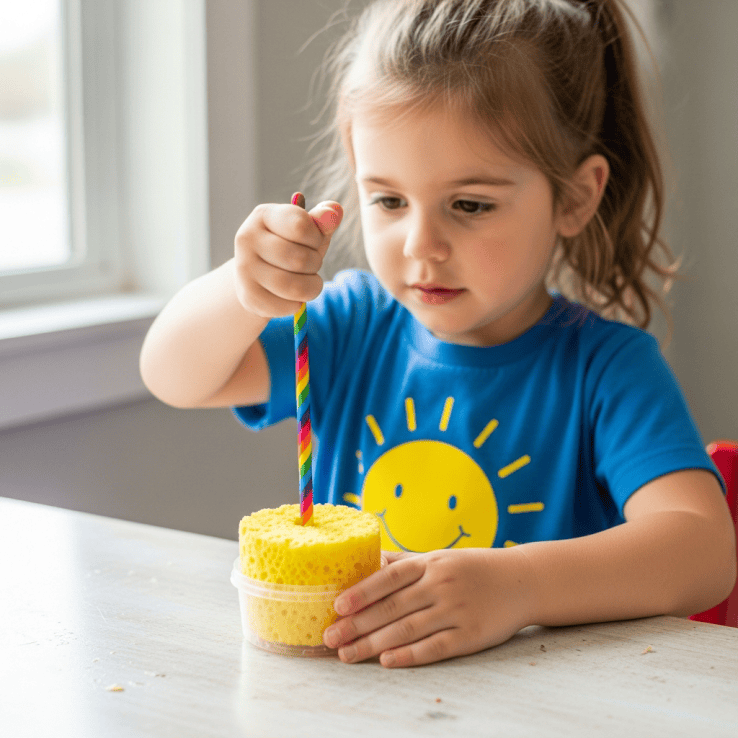 Added Jan 18 · Ages 3 to 5Sponge Stick RotationForearm PronationForearm SupinationProprioceptionYou'll need: Bowl · Container · Craft Sticks · Scissors · Sponge · Water
 Added Jan 17 · Ages 3 to 5Taut String Barrier PushBilateral Hand UseMotor PlanningProprioceptionYou'll need: Cardboard · Craft Sticks · Markers · Masking Tape · Scissors · String
 Added Jan 17 · Ages 3+Foil Rod RollerBilateral Hand UseEye-Hand CoordinationProprioceptionYou'll need: Aluminum Foil · Container · Craft Sticks · Markers
 Added Jan 16 · Ages 3 to 5Banded Post StretchBilateral Hand UseEye-Hand CoordinationProprioceptionYou'll need: Craft Sticks · Pipe Cleaners · Plastic Container · Playdough
 Added Jan 15 · Ages 3+Tight Stick Wedge PushDistal Finger ControlIntrinsic Muscle DevelopmentProprioceptionYou'll need: Craft Sticks · Index Cards · Plastic Container · Theraputty
While these activities are great for home practice, nothing replaces the guidance of a licensed therapist. If you are in Irvine, CA or the Orange County area and have concerns about your child's development, we invite you to connect with us.
Contact Tumble N' Dots Therapy →